
Planning to go to New Zealand and looking for an idea of how to spend 10-12 days travelling in a campervan? You’ve come to the right place, the ready itinerary is waiting for you. We’re happy to suggest when and what to see, where to find the best camping spots in NZ or rent a cheap campervan. Here you will find the answer – what to see on the South Island in New Zealand in 10-12 days.
- Before the trip
- Add all described spots here as “your places” in Google maps. You can easily save them to your account by clicking follow.
- Download google maps offline and camper mate app on your mobile phone.
- Find cheap tickets at iknowthepilot.com.au or iwantthatflight.com.au or skyscanner.com.
- Book your car with spaceshipsrentals.co.nz and buy a rental insurance with 15% off at rentalcover.com.
- Pack yourself and go.
What to see in the South of New Zealand in 12 days
Day 1, Christchurch
- 01:00 Landing in Christchurch – we slept in the campervan at the Spaceship rental car park.
- 11:00 Grocery shopping at PAK’nSAVE – the best and cheapest supermarket in NZ.
- 13:00 Camping shopping at Bunnings Warehouse – 2 x camping chairs, 8 x gas bottles, heater (30 NZD total).
- 14:00 Cashmere Hill Lookout – if you have some time in Christchurch then you can see.
- 15:00 Memorial Lookout in Victoria Park – walk 3 minutes up and you will see a beautiful view.
- 17:00 Kairaki Beach Holiday Park for 15 NZD or just like us at friend’s place.
Tips:
- It’s good to have 150 NZD cash to pay for DOC’s camping sites. For the rest, we paid with a card without any issues.


Day 2, Christchurch – Arthur Pass – Hokitika
- 13:00 Springfield Lookout – there is no sign on the road, but there is a pin on our Google maps.
- 13:15 Castle Hill lookout – a combination of snow and grass creates a stunning view.
- 13:45 Lake Pearson – nice view with ducks.
- 15:00 Avalanche camping area – good spot for having a meal.
- 16:00 Devil’s Punchbowl Waterfall – must do! 30-minute trekking, you will see a beautiful waterfall with the rainbow on a sunny day.
- 17:00 Otira Viaduct Lookout – quick stop on the way.
- 18:00 Lake Bruner – the most beautiful at sunset.
- 19:30 Jackson’s Retreat Alpine Holiday Park – beautiful place between mountains. An additional attraction is finding glow worms. Great fun, because you have to find the habitat in a dark forest with a flashlight in your hand (NZD 22 per person).
Tips:
- You can sleep in Moana and go to Hokitika through Greymouth.
- You need to have good footwear for glow worms adventure in a dark forest. On the way, you will pass two streams through which you have to go.


Day 3, Hokitika – Franz Josef Glacier
- 10:00 Shopping in Hokitika New World – other cities will be much more expensive, so it is also worth refuelling.
- 12:00 Hokitika Gorge – a nice suspended bridge over the blue river. It’s worth taking a repellent with you, lots of sand flies.
- 15:00 Lake Ianthe – good spot to have a meal.
- 17:00 Franz Josef Glacier.
- 19:00 Glacier Campervan Park – we do not recommend this spot. It’s better to find something else (NZD 15 per person).


Day 4, Glacier – Wanaka
- 08:00 Jetty Viewpoint, Lake Matheson – a beautiful lake with a mirror reflection of the mountains! Must to See!
- 09:00 Bruce Bay Lookout – a 5-minute stop along the way.
- 09:30 Knights Point Lookout – good spot to have a meal.
- 12:15 Roaring Billy – a blue river with a waterfall surrounded by thousands of stones.
- 13:00 Thunder Creek Falls.
- 13:30 Blue Pools – a blue river with a drawbridge.
- 14:45 Boundary Creek campsite – the first look at Lake Wanaka. Lots of tables for a picnic.
- 15:00 The Neck, Lake Wanaka lookout.
- 15:30 Lake Hawea Lookout.
- 16:00 Lake Outlet Holiday campground – beautiful view, rabbits everywhere. The only downside is 500m of a gravel road access, but it’s worth it! (NZD 23 per person).


Day 5, Isthmus Peak
- 10:00 Isthmus Peak – unearthly view, must see! Take a UV cream with you regardless of the season, at least a litre of water per person and something to snack at the top. Three hours is a way uphill and two going down plus an hour for breaks.
- 18:00 Crown Range Road Scenic Lookout – it’s worth stopping at sunset.
- 18:30 Arrowtown Holiday Park (20 NZD per person).


Day 6, Queenstown
- 11:00 Moka Lake – beautiful reflection of mountains in the water mirror. Stop right at the very beginning of the lake to take a beautiful photo. Access to 1km by gravel road. (We spent about 30 min here).
- 13:30 Nevis Bungy jump – a great experience, something for people who like adrenaline and overcoming fear (NZD 275 per person).
- 16:30 Bennetts Bluff Lookout.
- 18:00 Kinloch Camping Site – amazing place. Access by gravel road – about 7 km. It’s a good idea to take a repellent with you because there’s a lot of flies. At Kinloch Lodge, you can chill out with beer and recharge your devices (NZD 13 per person).


Day 7, Milford Sound
- 09:30 Paradise Road in Glenorchy – winding road, where you can fly a drone.
- 11:00 Fergburger – legendary place with the best burger in New Zealand. It’s a good idea to go out of lunchtime, before noon to avoid lines (13 NZD for a simple burger).
- 18:00 Milford Sound Lodge – expensive, but really well equipped (30 NZD per person).


Day 8, Milford Sound – Alexandria
- 09:00 The Chasm Falls – a short morning walk.
- 09:30 Cruise around the Milford Sound fjords from Juicy. You will see there beautiful rock hills, waterfalls and seals (NZD 40 per person).
- 13:00 Lake Gunn Viewpoint.
- 13:30 Mirror Lakes.
- 14:00 Eglinton Valley – the place where you can fly a drone.
- 19:00 Alexandra Holiday Park campsite – medium conditions, very old-school (16 NZD per person).
Tips:
- It is worth buying a Juicy Cruise in Te Anau. There is no coverage at Milford Sound. Cruising in the morning hours will be a better idea due to rainy weather in the afternoon.
- Milford Sound is a rainforest and fjords. Rainfall is on average 250 days a year. After 1:00 PM, it always rains. Don’t forget a rain jacket.


Day 9, Alexandria – Mt Cook
- 08:30 Flat Top Hill Conservation Area – here you can fly legally drone.
- 10:30 Lindis Peak lookout – the combination of snow and the yellow grass look stunning.
- 12:30 Peter’s Lookout – nice view with Lake Pukaki and Mt Cook.
- 13:00 Lake Pukaki – we can guarantee that you will stop more than one time.
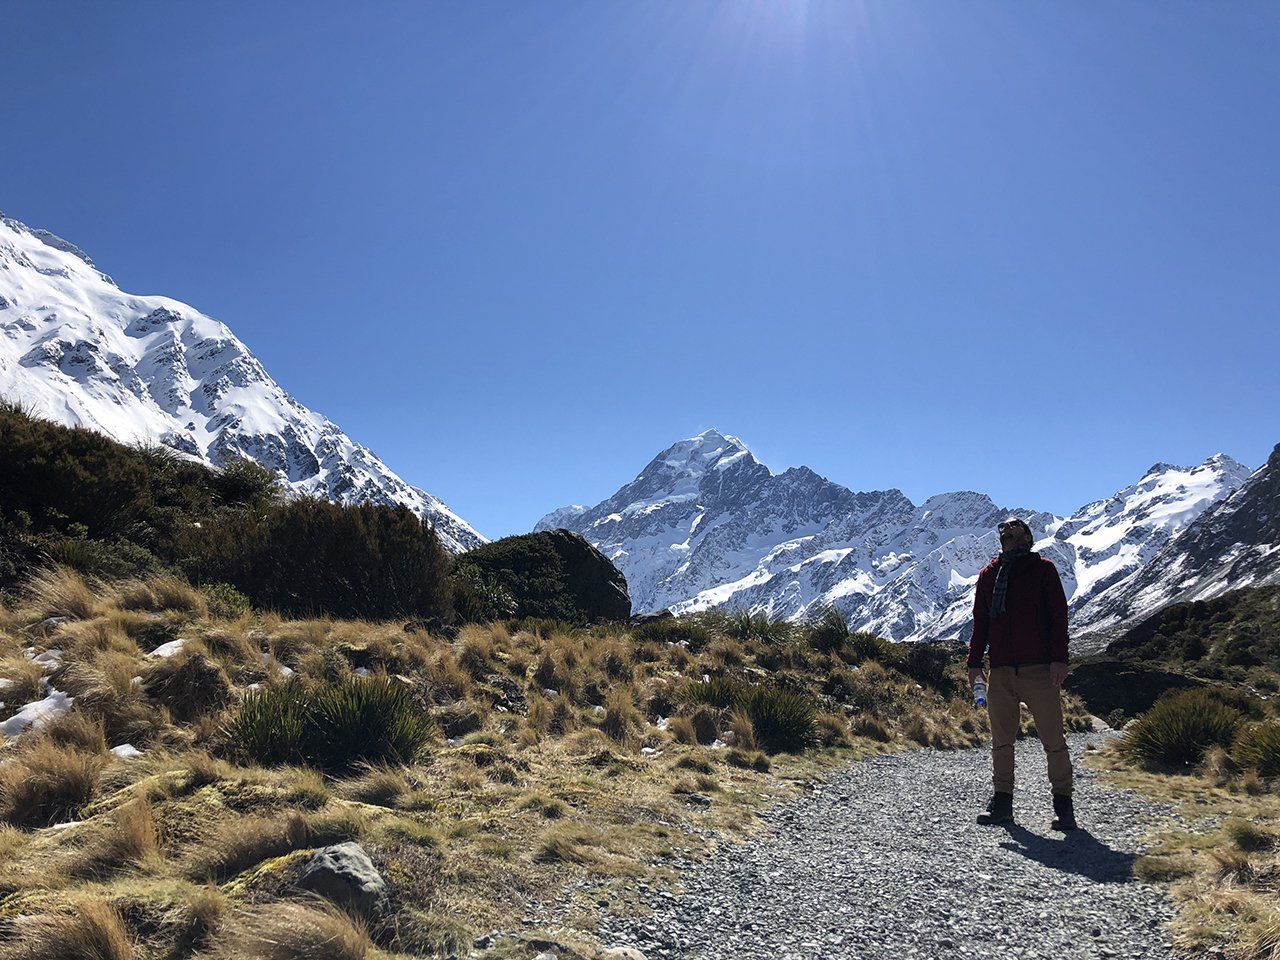
- 14:00 Mount Cook – view of the four-thousander mountain is impressive. Lunch in such surroundings tastes better.
- 17:00 The Old Mountaineers Café & Bar – beautiful view with a glass of wine.
- 20:00 White Horse Hill Campsite – the most beautiful view of mountains with the moonlight. The coldest night the temperature dropped to 5 degrees. The best mountain camping spot in NZ. (NZD 13 per person, cash).


Day 10, Mt Cook – Lake Tekapo
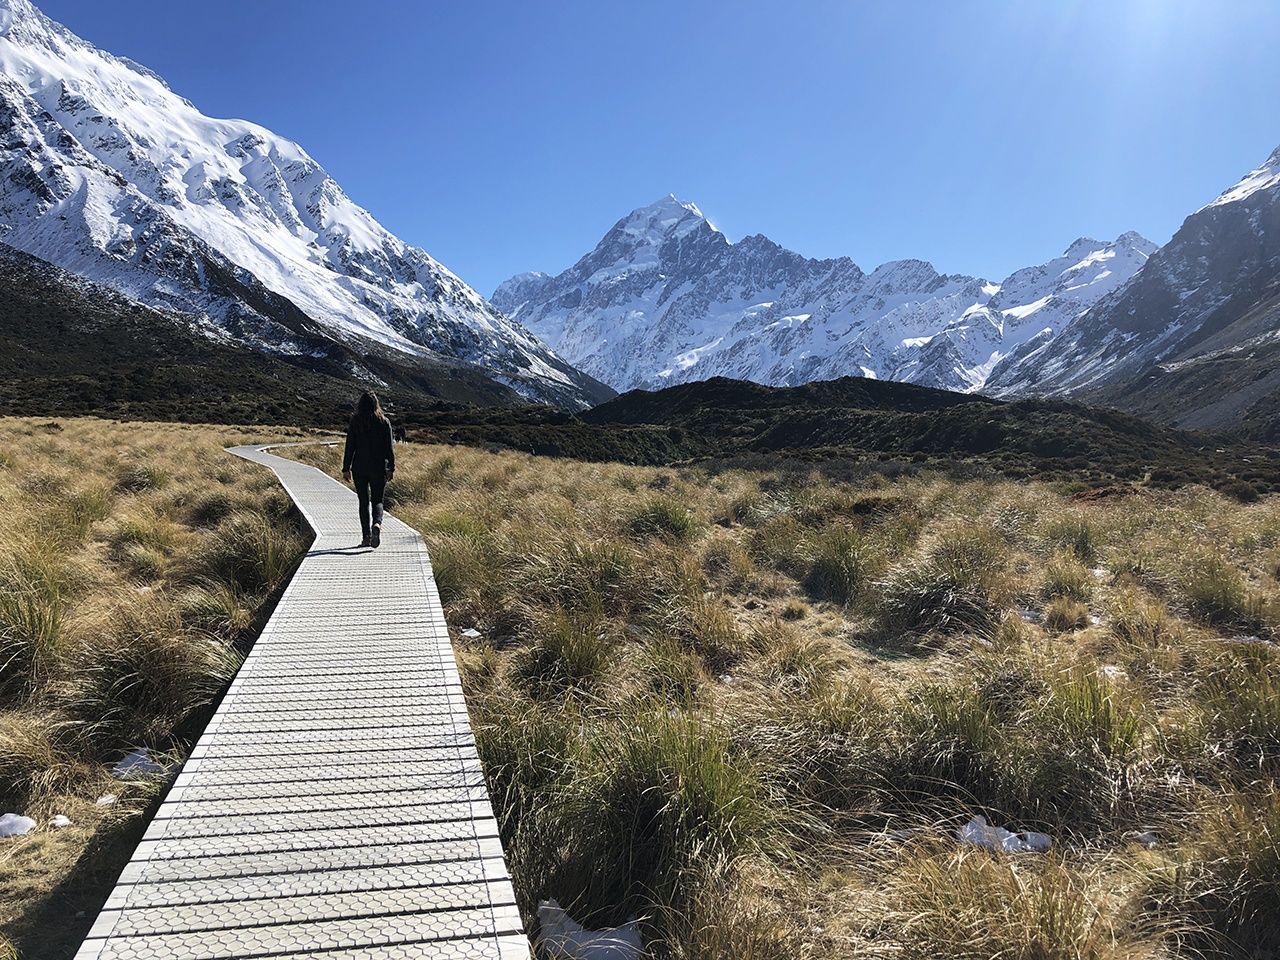
- 07:30 Hooker Valley Track – must do! It’s 2 hours walk, but totally worth it.
- 12:00 Tasman Glacier Viewpoint – turn left and drive about 20 km. The track is short but views unusual.
- 15:00 Lake Tekapo Lookout – the colour of the water is just amazing…
- 16:00 Lake McGregor Campervan site – a quiet place located nearby Lake Alexandria (NZD 10 per person, cash).


Day 11, Lake Tekapo – Christchurch
- 08:30 Church of Good Shepherd – a small church with Tekapo view.
- 10:00 Fairlie Bakehouse – it’s worth to get a traditional vegetable pie and coffee (4 NZD for a pie).
- 16:00 Chamberlains Ford Campsite. Free camping without a special view, neat toilets and barbecue.
When to go to New Zealand
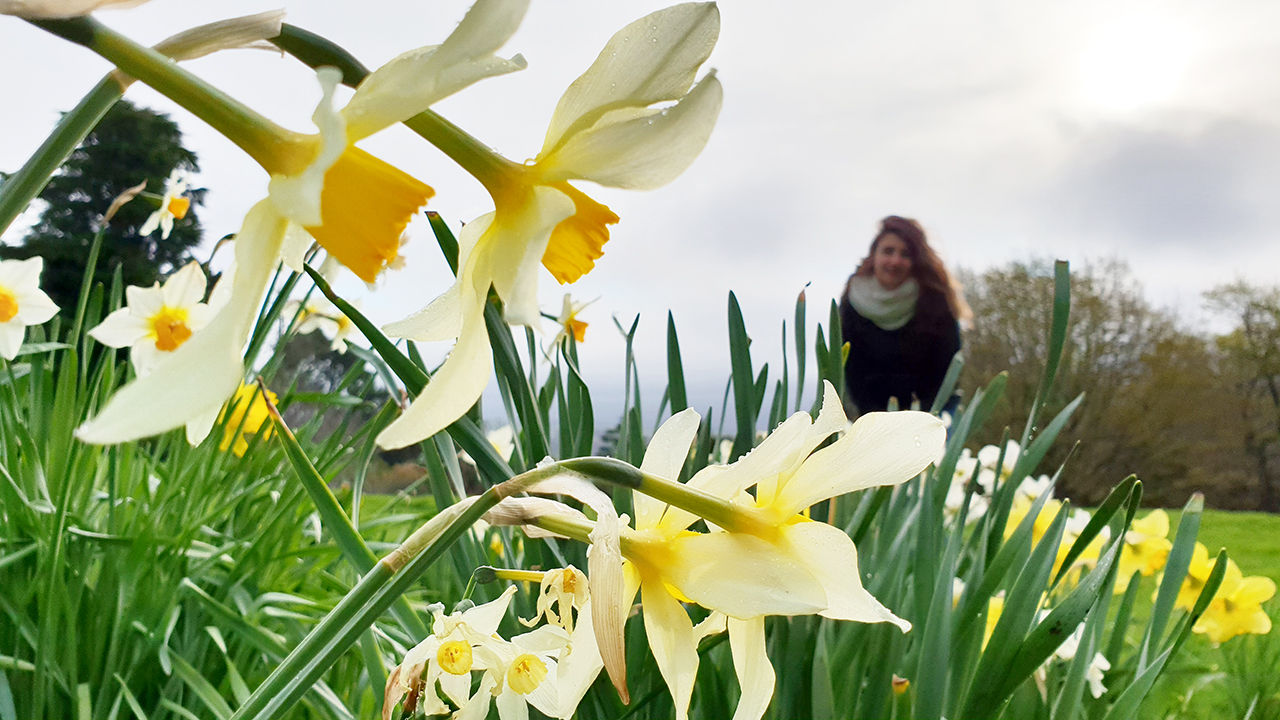
We recommend the first weeks of spring (September-October). You will save money on renting a car and there will be fewer people on the trails. The weather during the day is about 15-20 degrees – perfect for trails; at night it is a little bit colder but survivable. In November at the lakes Tekapo and Pukaki you will be amazed by the blooming purple lupines.
Travelling around New Zeland by car
The cheapest and best option is to rent a campervan. In New Zealand, there is free camping. Unless there’s a “no camping sign” you can stay there for a night. BUT you must have a car with a self-contained certificate, for which you will pay 2-3 times more than for a non-certified campervan. This certificate proves that you have a toilet within the campervan. We chose a cheaper option, we used a campervan without a toilet. These vans cost a lot less, the difference is that you have to stop at special campsites which have bathroom facilities. Download the “Spaceship Travels” application with a map of all available non-self contained campsites. Roads in NZ are narrow mountain winding roads with beautiful views. It will be easier for you if you already have driving experience in such conditions. If you do not want to drive then you can hop on the kiwi experience bus.
The cheapest campervan to rent in New Zealand
We chose the spaceship rental. In September, we paid 20 NZD + insurance per day. In our spaceship car, we had a fridge, USB charging connectors for power banks and all cooking tools with two gas stoves. We also got two sets of bed linen included (it’s good to ask for an additional quilt if you’re going in spring). A power plug with a 240V socket to connect the heater and a camping table you have to rent from the car rental company(40 +35 NZD). We bought insurance from rentalcover.com for 9NZD / day. Don’t overpay in the rental company.
How to dress on a trip to New Zealand in the spring?
If you’re planning a trip like us – in the spring, do not forget about the right clothes! Below you can find recommended by us, warm clothes from Kathmandu, Macpack and Columbia. We packed: padded fleece, leggings, rain jacket, beanie, gloves, thermal underwear with long sleeves, worm socks. If you want to go trekking in the mountains you have to buy good waterproof shoes.
Flying a drone in New Zealand
Drones in New Zealand are considered as planes. (information for 2018). Flying over the private property is allowed if you have written permission from the owner. The best spots where you want to fly are mostly reserves and national parks. If you want to fly a drone in these places you need permission from DOC or Department of Conservation. It costs 50 NZD for a particular region. You can find the best spots in the Southern South Island region. The available places for flying are strictly defined here you can find a list of allowed spots. If you have any questions then feel free to contact us or send an inquiry to [email protected].
Hey there! Awesome blog and a stunning video. I am going to New Zealand in April and I would like to fly there with a drone as well. I saw some epic places, like Mt. Cook. However, I don’t see that in one of the recommended spots to apply for on the website of the DOC. Can you help me with that? Did you apply for all those regions and do you have to pay 50 NZD for the ‘southern’ region, or for all the regions on the southern island? Thanks in advance!
Hi Guus van de Water,
Regarding Mt Cook it would be hard to get permissions if you are not a commercial operator. I had a response from doc representative that you can fly near Peters Lookout view as “Peters Lookout is not conservation land so should be okay”. You need to email [email protected] when you have your form ready. it’s 50$ per region. If you want I can send you my DOC form on email, just send a message at [email protected].
Cheers
Hi Marta,
Thanks for the fast response. If you can send me your DOC form on email, that would be great!
Cheers